> ## Documentation Index
> Fetch the complete documentation index at: https://docs.tablepro.app/llms.txt
> Use this file to discover all available pages before exploring further.
# Quick Start
> Download TablePro, install it, and connect to your first database in under 5 minutes
# Quick Start Guide
Download, install, and run your first query.
## Step 1: Download TablePro
Via Homebrew (fastest):
```bash theme={null}
brew install --cask tablepro
```
Or manually: Download from [GitHub Releases](https://github.com/TableProApp/TablePro/releases):
* **Apple Silicon (M1+)**: `TablePro-arm64.dmg`
* **Intel**: `TablePro-x86_64.dmg`
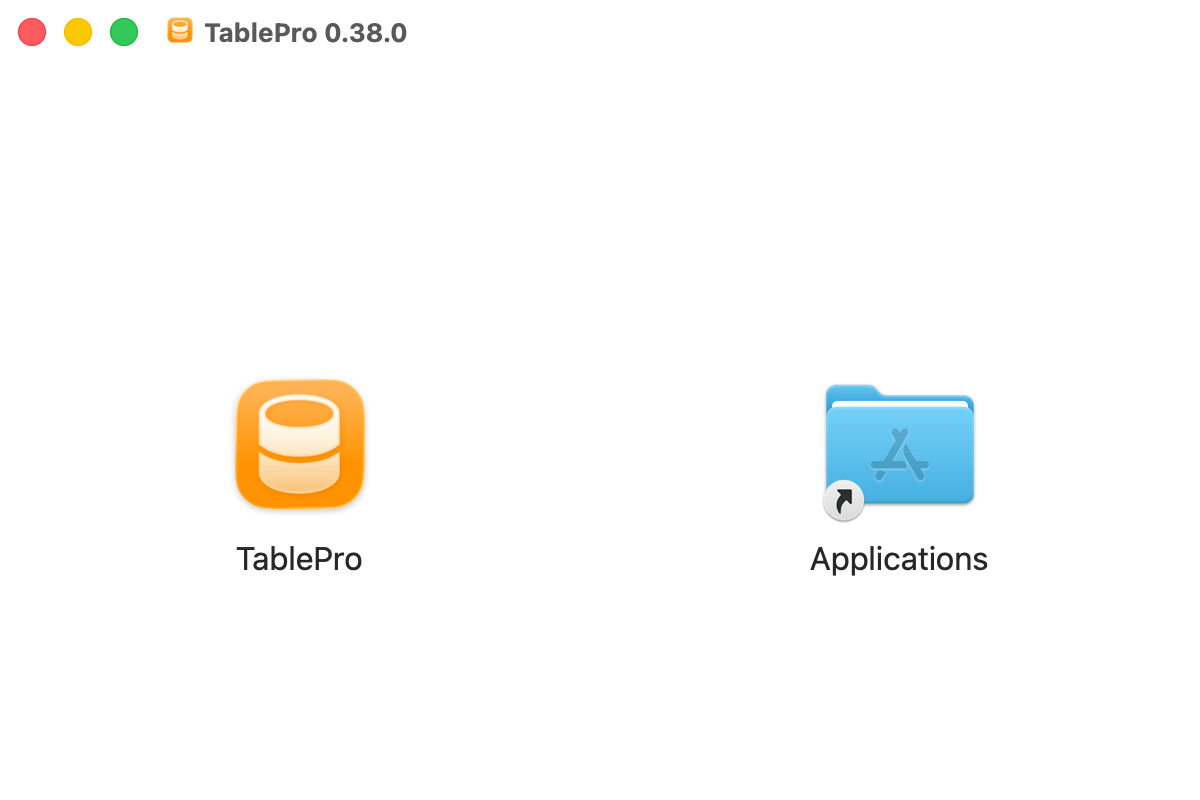
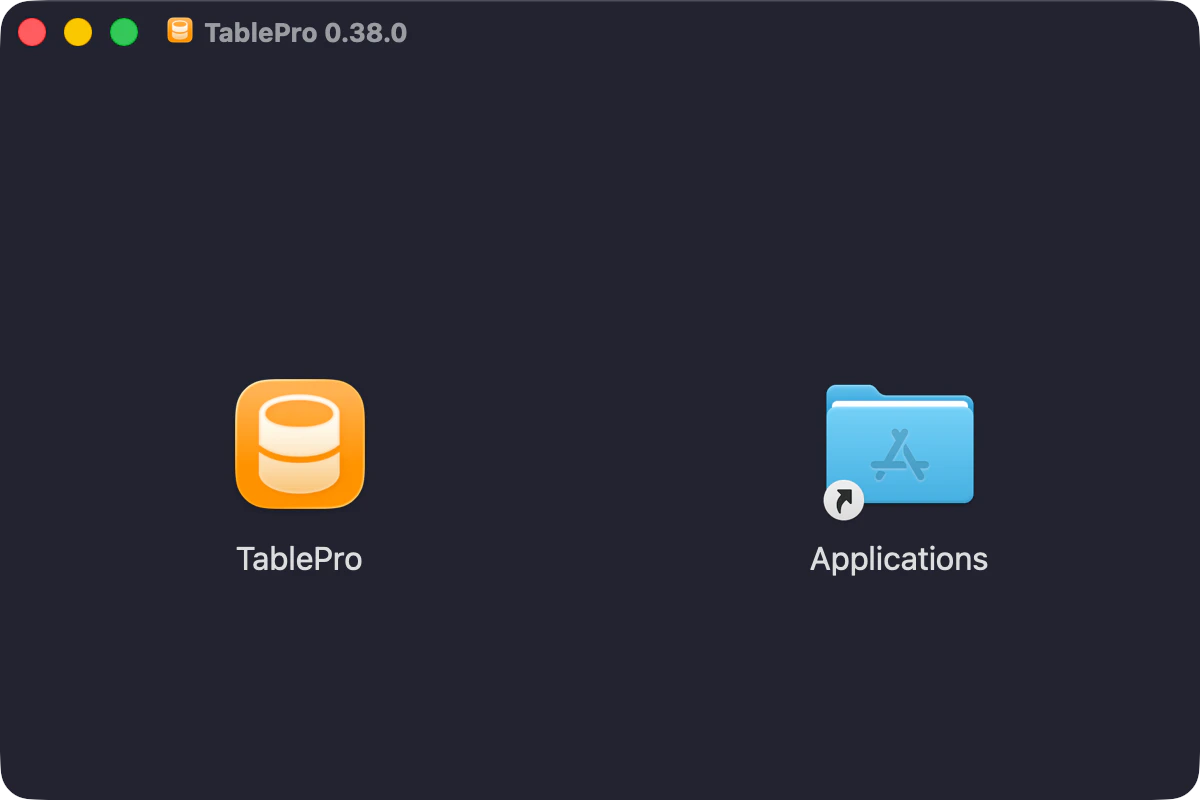
## Step 2: Install TablePro
1. Open the DMG file
2. Drag **TablePro** to **Applications**
3. Eject the DMG
4. Launch TablePro
 ## Step 3: Create Your First Connection
The welcome window has a sidebar of saved connections on the left and a detail panel on the right. Search is in the window toolbar; press `Cmd+F` to focus it. The toolbar `+` button starts a new connection, and the folder button creates a connection group.
Each connection shows its tag and group, so you can tell production from staging at a glance. The same labels appear in the connection switcher in the editor toolbar.
First launch ships a bundled Chinook sample database. Open it with one click to try TablePro without setting up a server. Reset the sample from **File > Reset Sample Database** any time.
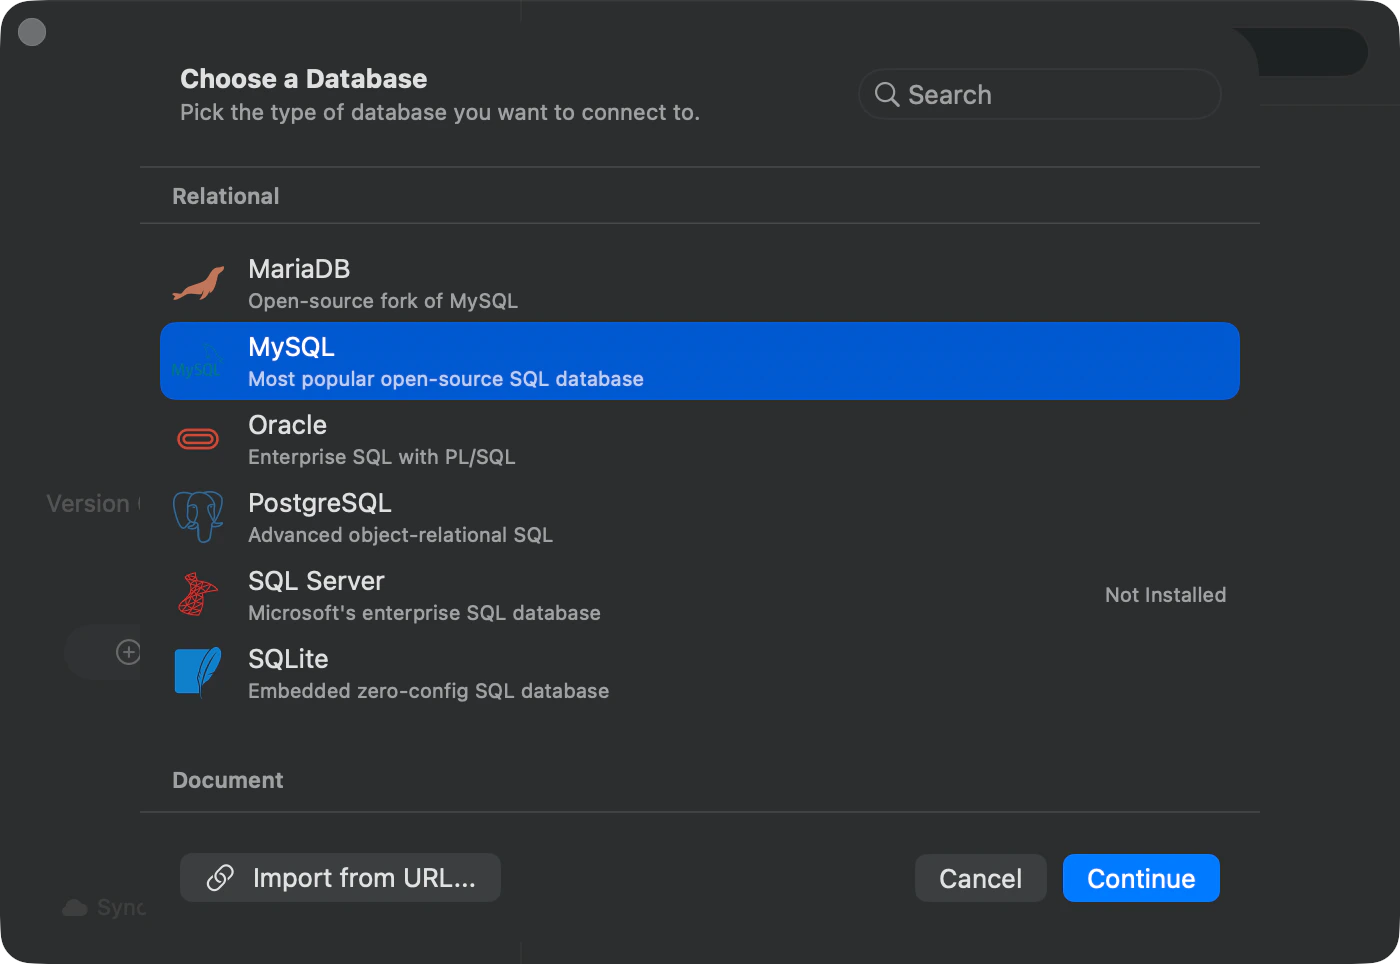
To make a real connection, click **Create connection** in the empty state (or the toolbar `+`). A chooser sheet appears with every supported database type grouped by category. Pick one and click **Continue**.
## Step 3: Create Your First Connection
The welcome window has a sidebar of saved connections on the left and a detail panel on the right. Search is in the window toolbar; press `Cmd+F` to focus it. The toolbar `+` button starts a new connection, and the folder button creates a connection group.
Each connection shows its tag and group, so you can tell production from staging at a glance. The same labels appear in the connection switcher in the editor toolbar.
First launch ships a bundled Chinook sample database. Open it with one click to try TablePro without setting up a server. Reset the sample from **File > Reset Sample Database** any time.
To make a real connection, click **Create connection** in the empty state (or the toolbar `+`). A chooser sheet appears with every supported database type grouped by category. Pick one and click **Continue**.
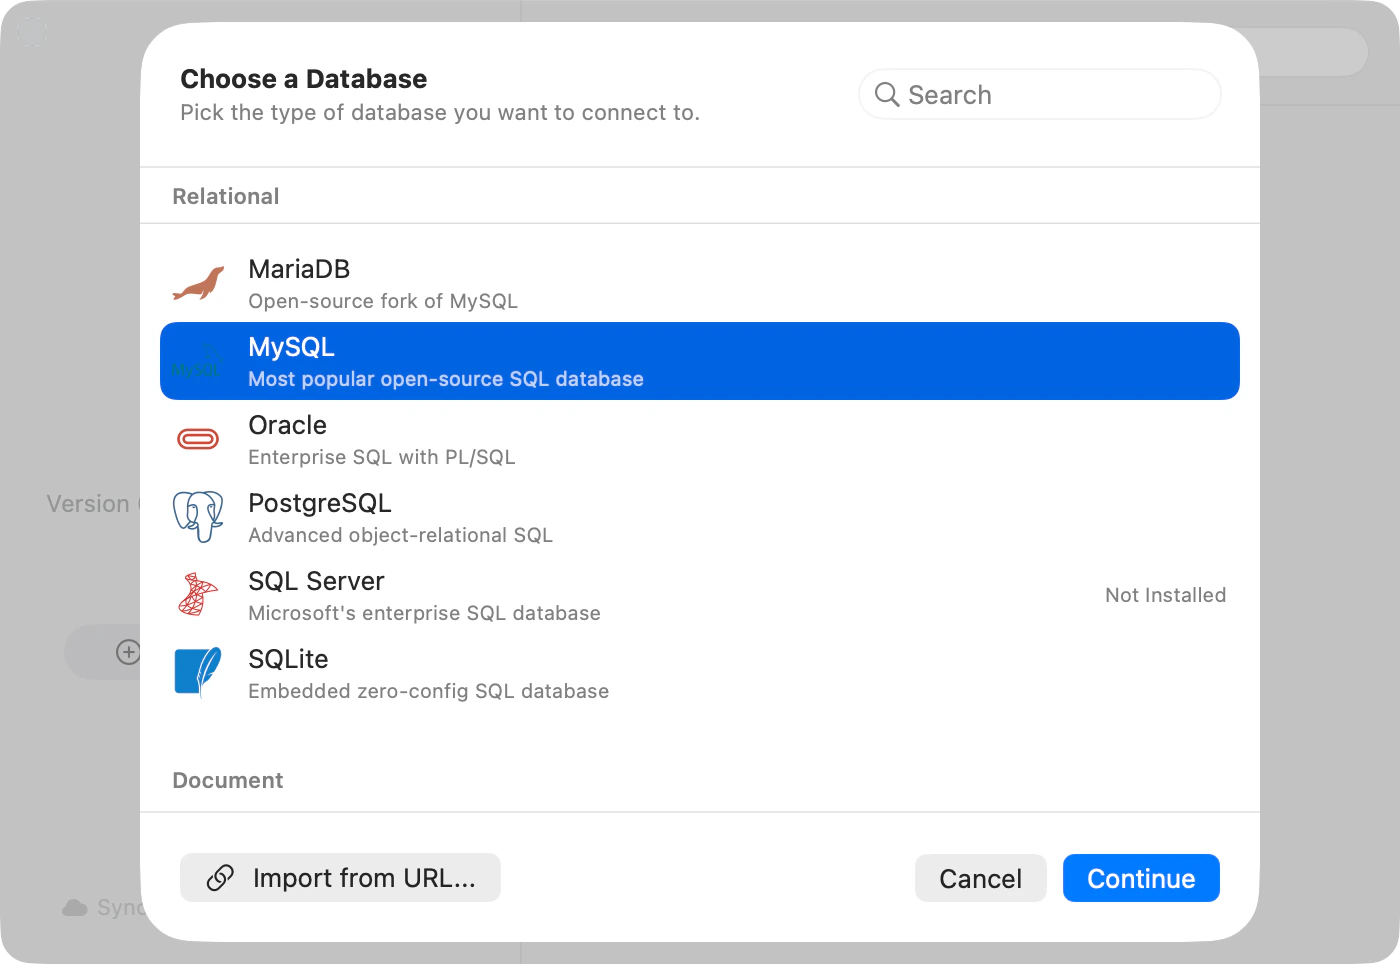
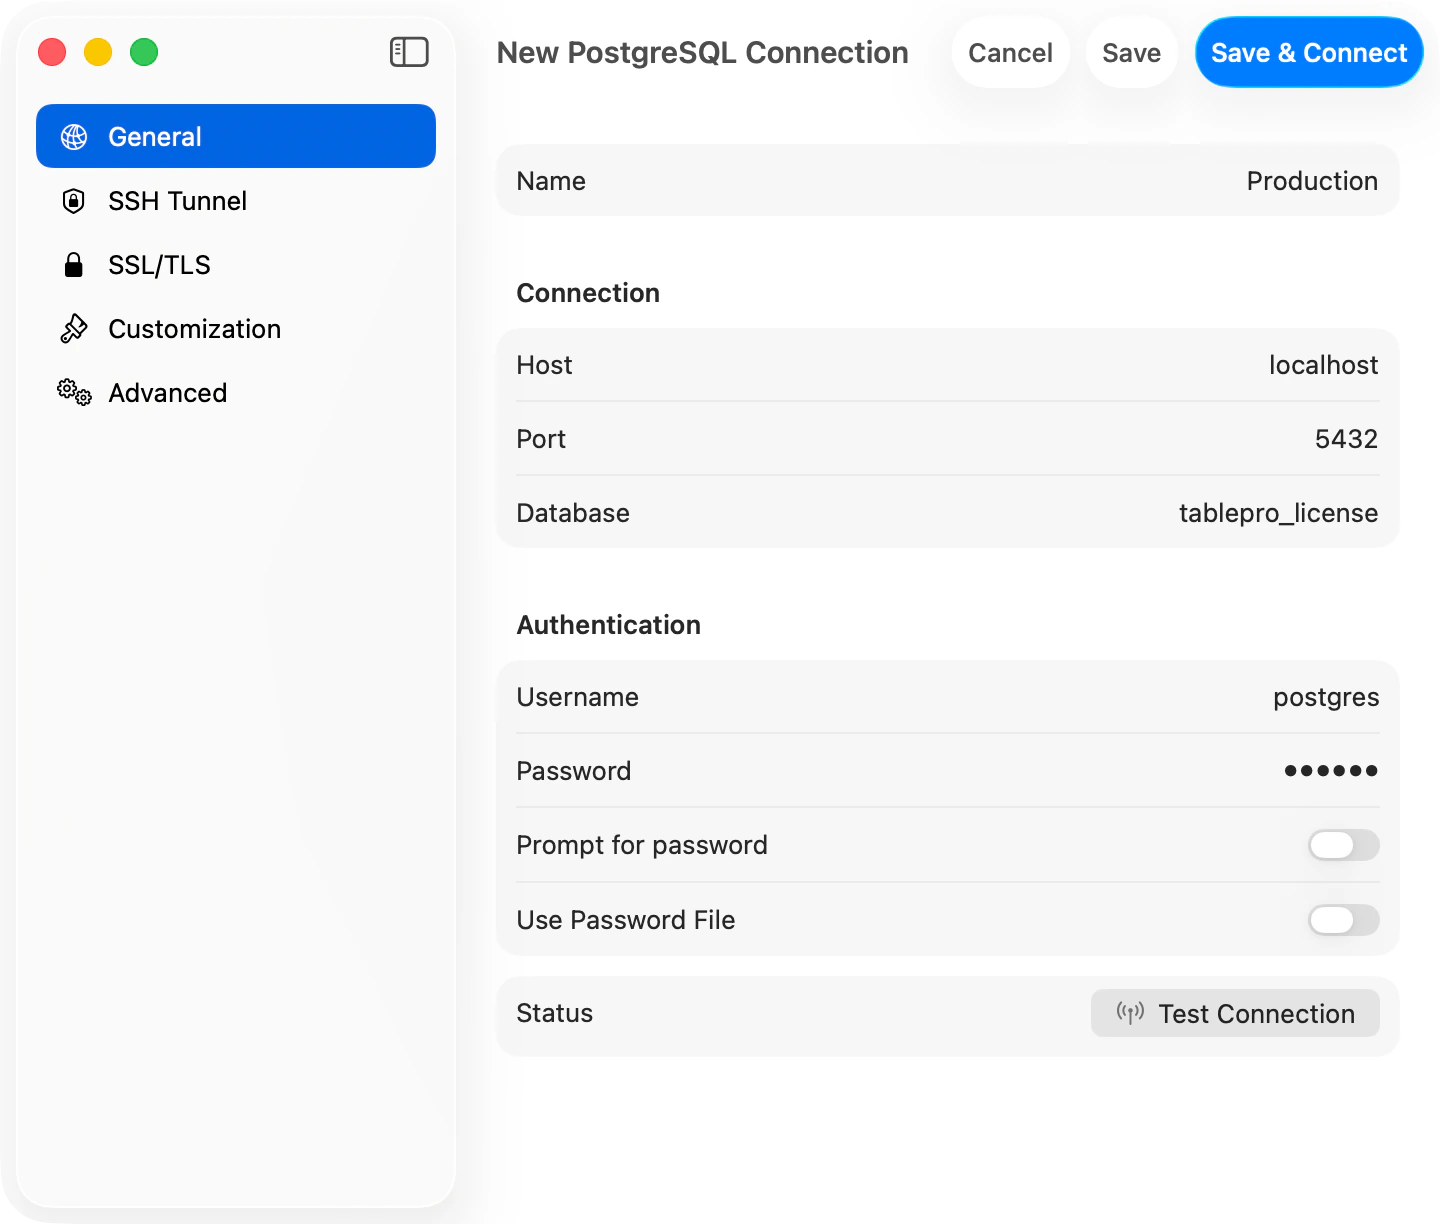
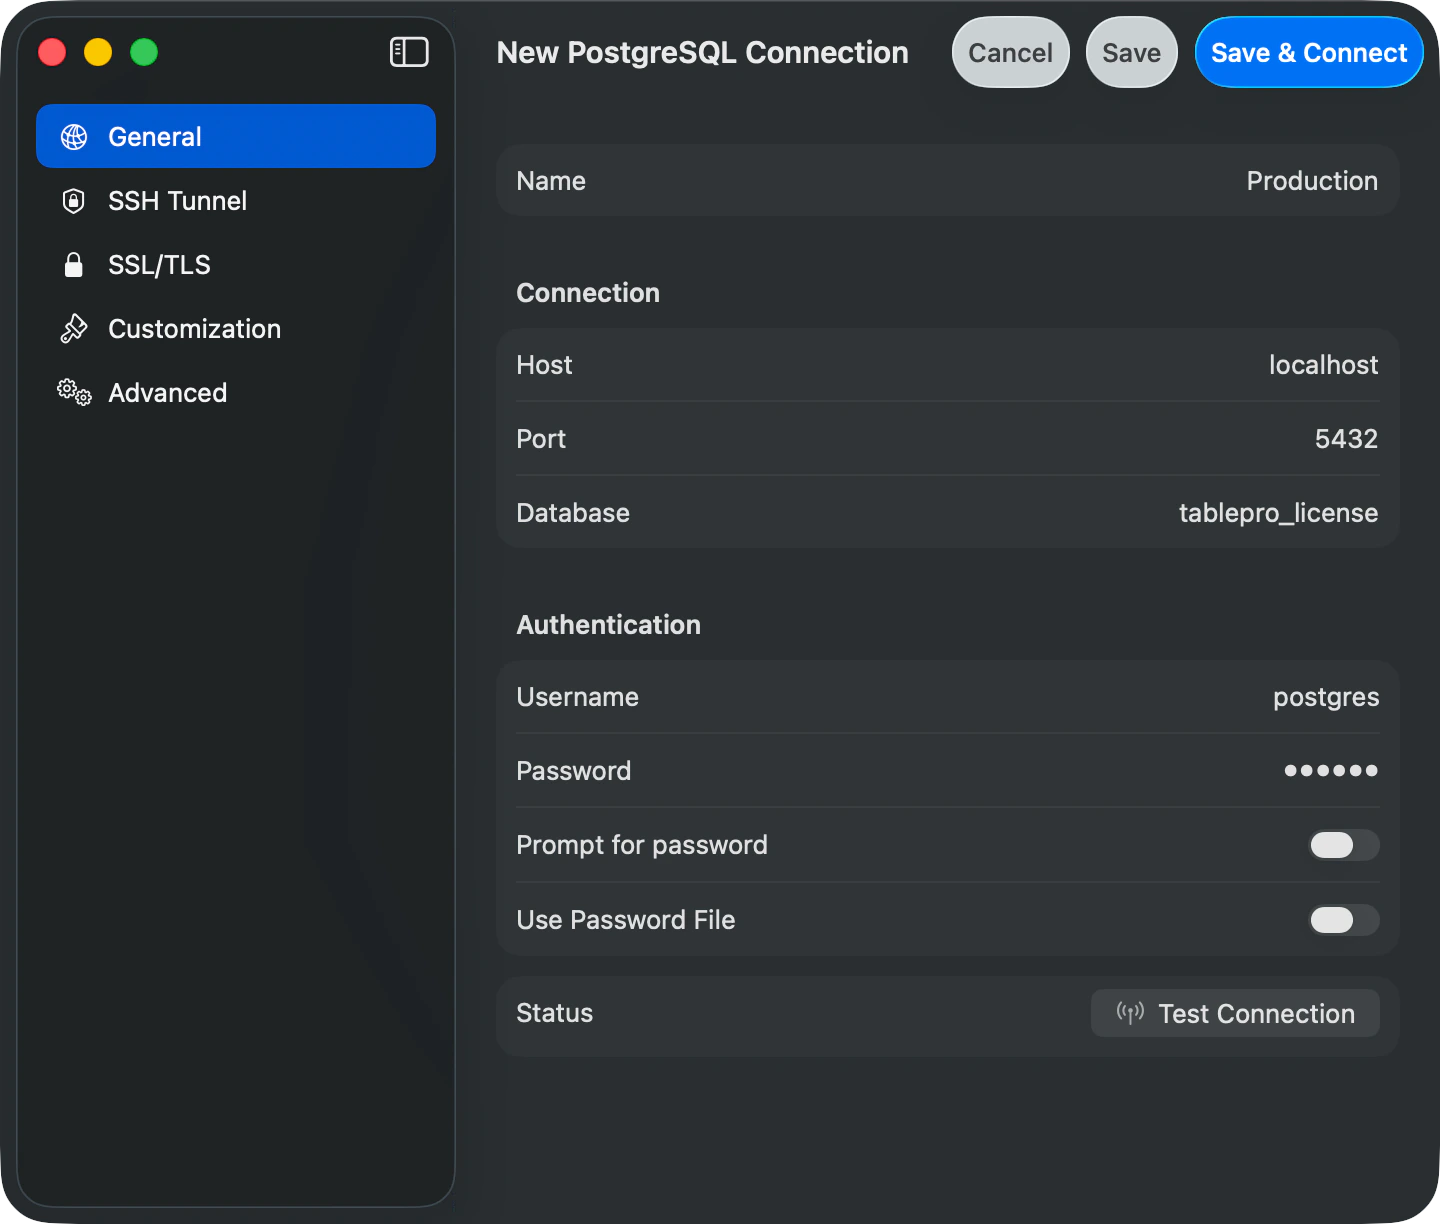
 The connection form opens, pre-filled with sensible defaults. Common examples:
**MySQL**: host `localhost`, port `3306`, username `root`
**PostgreSQL**: host `localhost`, port `5432`, username `postgres`
**SQLite**: browse to a `.sqlite` or `.db` file, no auth needed
**MongoDB**: host `localhost`, port `27017`, optional username/password
The connection form opens, pre-filled with sensible defaults. Common examples:
**MySQL**: host `localhost`, port `3306`, username `root`
**PostgreSQL**: host `localhost`, port `5432`, username `postgres`
**SQLite**: browse to a `.sqlite` or `.db` file, no auth needed
**MongoDB**: host `localhost`, port `27017`, optional username/password
 Already have a connection URL? Click **Import from URL...** in the chooser footer. TablePro detects the database type and pre-fills the form for you.
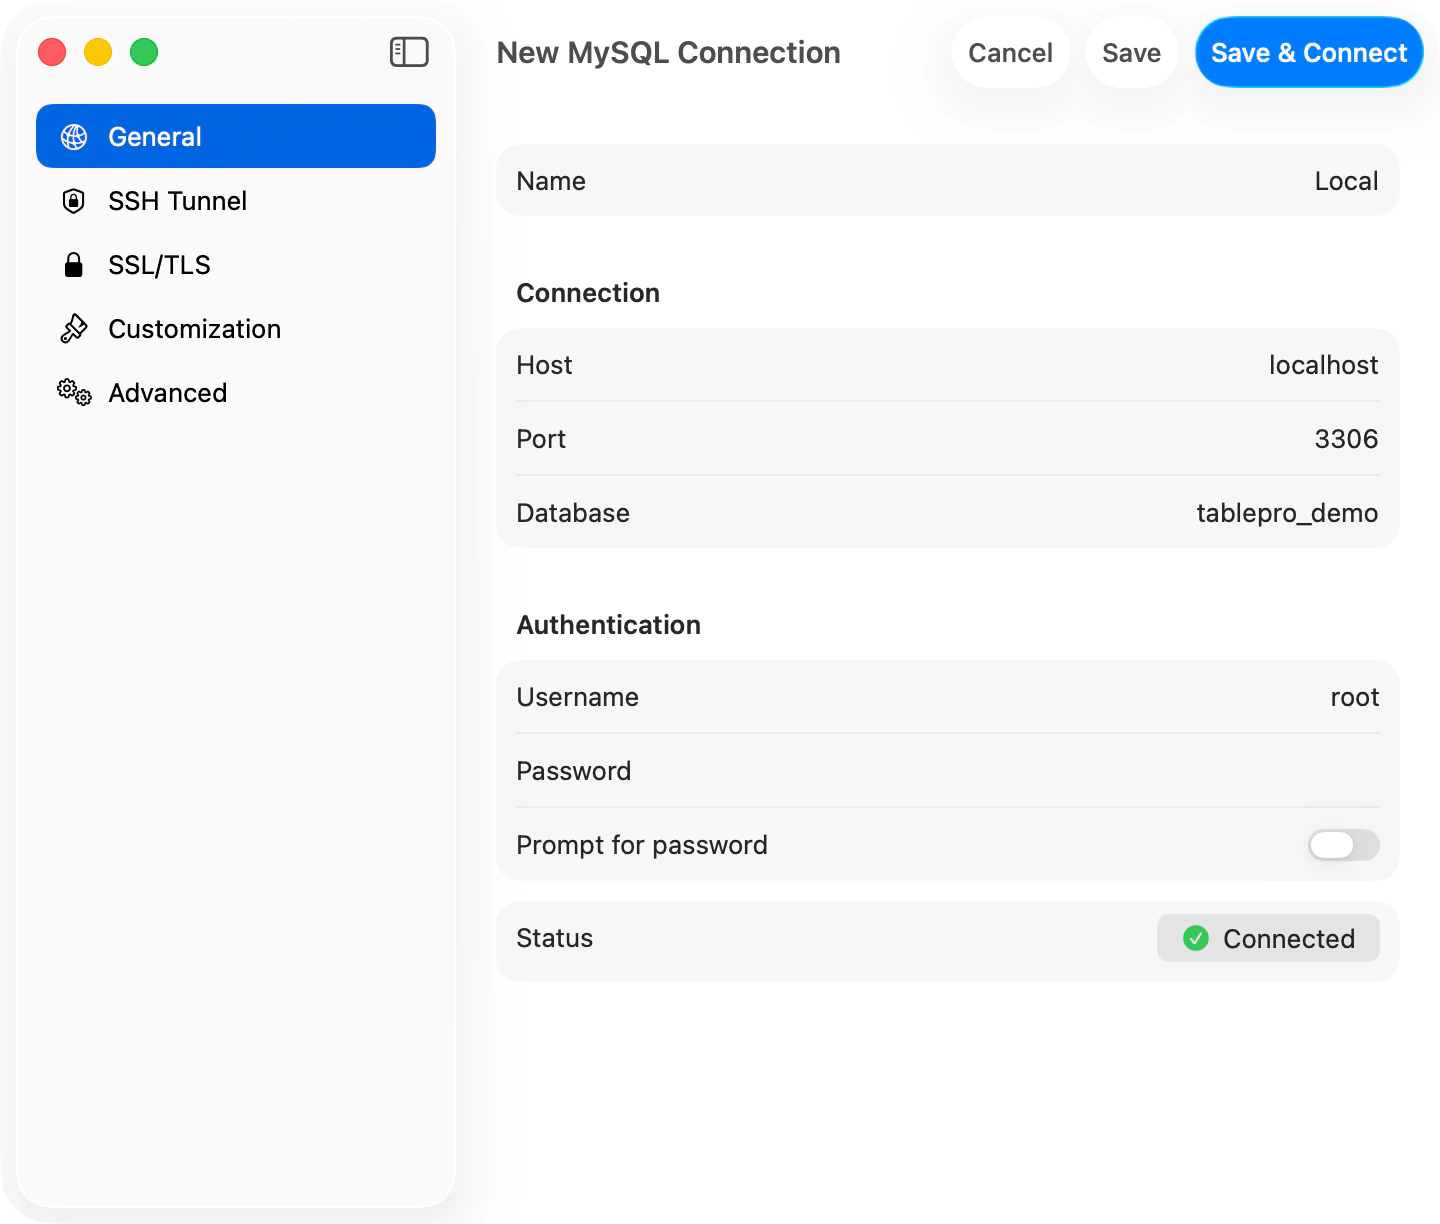
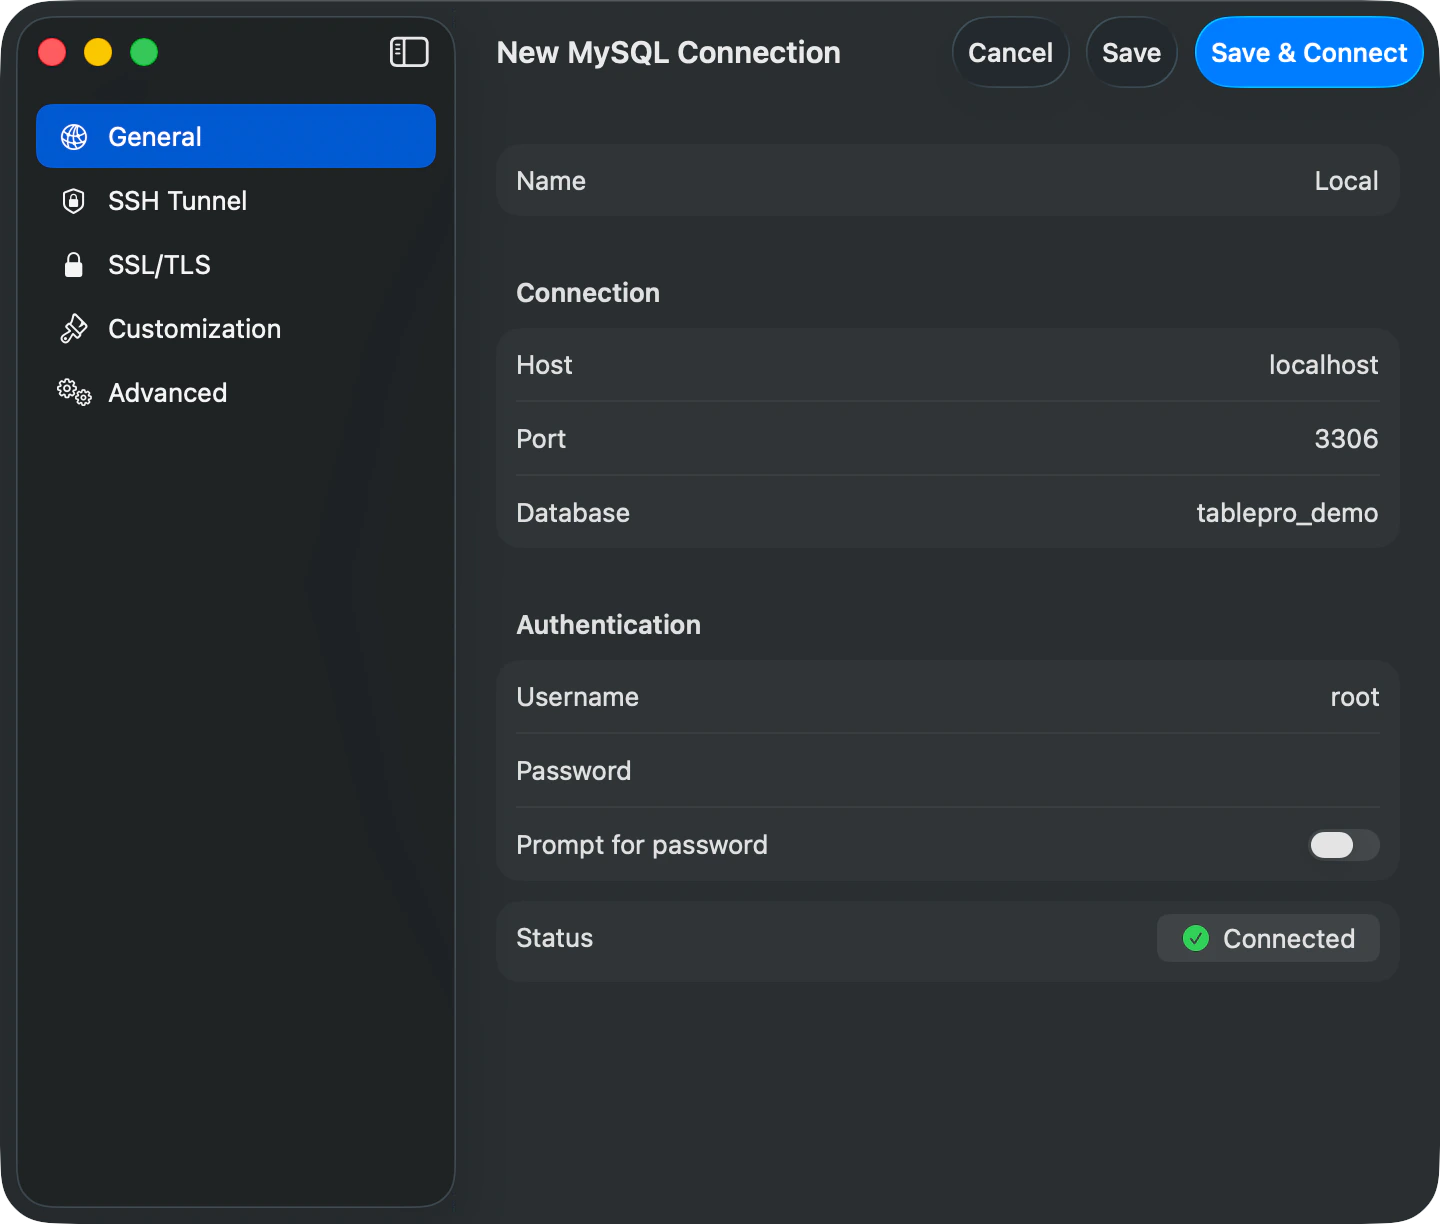
## Step 4: Test and Save
The General pane has a **Status** row at the bottom with a Test Connection button. Click it to verify your settings. Once it shows a green checkmark, click **Save & Connect** in the toolbar.
Already have a connection URL? Click **Import from URL...** in the chooser footer. TablePro detects the database type and pre-fills the form for you.
## Step 4: Test and Save
The General pane has a **Status** row at the bottom with a Test Connection button. Click it to verify your settings. Once it shows a green checkmark, click **Save & Connect** in the toolbar.
 ## Step 5: Explore Your Database
The main interface has three panels:
* **Sidebar**: Your databases and tables
* **SQL Editor**: Write and execute SQL queries
* **Data Grid**: View and edit query results
## Step 5: Explore Your Database
The main interface has three panels:
* **Sidebar**: Your databases and tables
* **SQL Editor**: Write and execute SQL queries
* **Data Grid**: View and edit query results

 ### Try Your First Query
1. Click on a table in the sidebar to view its contents
2. Or type a query in the SQL editor:
```sql theme={null}
SELECT * FROM users LIMIT 10;
```
3. Press `Cmd+Enter` to execute the query
4. View the results in the data grid below
## What's Next
Explore [connections](/databases/overview), [SSH tunneling](/databases/ssh-tunneling), [keyboard shortcuts](/features/keyboard-shortcuts), or [AI features](/features/ai-assistant).
Need help? Check [Installation](/installation) or [open an issue](https://github.com/TableProApp/TablePro/issues) on GitHub.
### Try Your First Query
1. Click on a table in the sidebar to view its contents
2. Or type a query in the SQL editor:
```sql theme={null}
SELECT * FROM users LIMIT 10;
```
3. Press `Cmd+Enter` to execute the query
4. View the results in the data grid below
## What's Next
Explore [connections](/databases/overview), [SSH tunneling](/databases/ssh-tunneling), [keyboard shortcuts](/features/keyboard-shortcuts), or [AI features](/features/ai-assistant).
Need help? Check [Installation](/installation) or [open an issue](https://github.com/TableProApp/TablePro/issues) on GitHub.